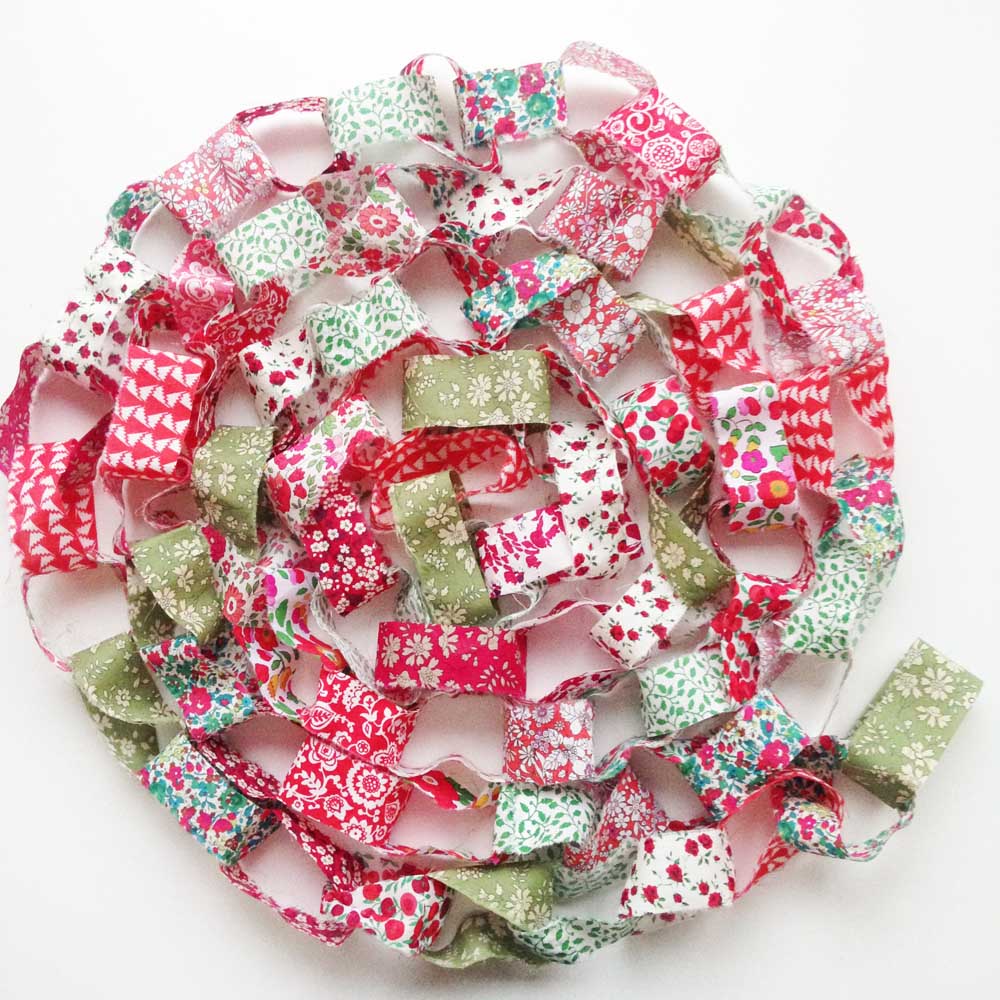
Laura from the office has made this gorgeous Liberty Fabric Chain. I’ve been so inspired by all of the sweet Liberty Christmas projects that everyone has brought in. This is a lovely and easy project if you fancy doing some Christmas crafting.
Laura has written a tutorial for the project.
“I recalled making paper chains when I was younger and thought that experience could be re-created using beautiful Liberty fabric. This project would be a great one to do with young kids as there is no sewing involved, was super easy to do and the chain grows very quickly once you get stuck into it. This makes it a really satisfying project!”
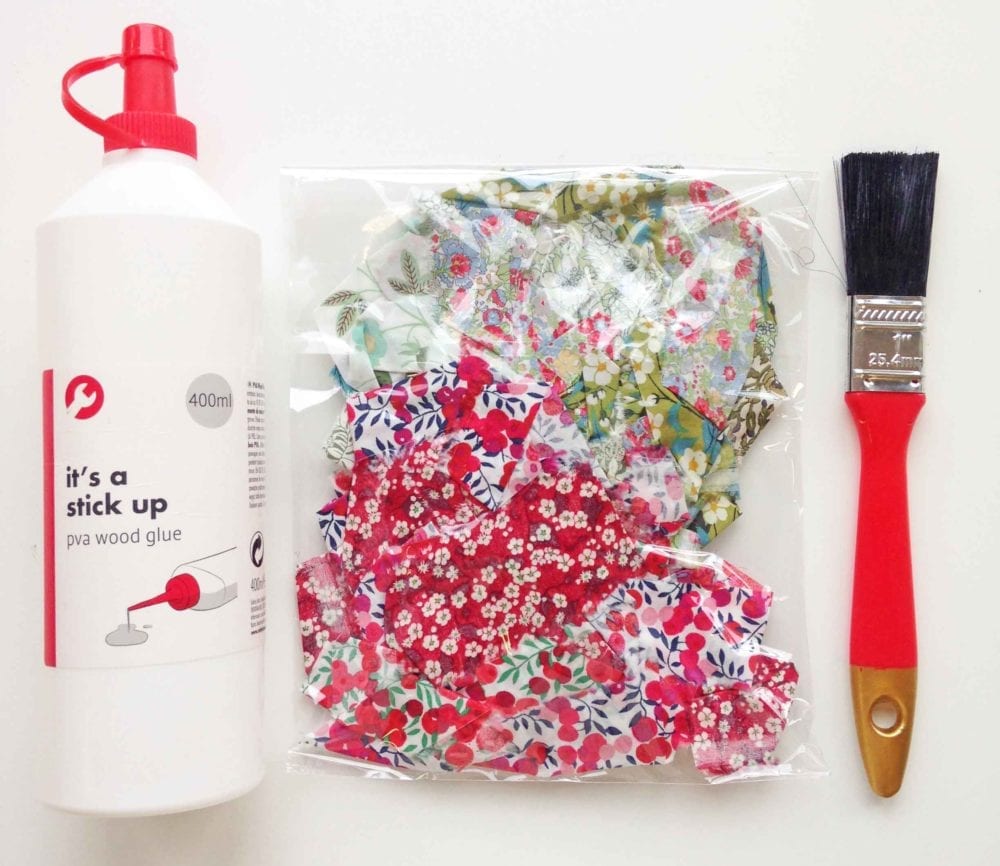
Materials needed: Liberty Christmas scrap pack, PVA glue, scissors and a brush.
Step 1: Start by deciding what size loops to make and cut your fabric ribbons to size, allowing about 1cm extra on either side for a bit of a cross over where you will close the loop. My strips are around 18cm long and made loops with a circumference of 16cm. I felt this size suited the width of the strips, which is about 2.5-3cm across, but it is all down to personal preference. Your loops can be as large or small as you like- you can’t go wrong!
Step 2: Use the brush to spread some PVA glue on one end of the cut fabric strip. Press the ends together to make a loop.
Step 3: Take a new fabric strip and thread it through the loop you’ve just made. Repeat the previous step with the PVA glue to close it and then thread a new fabric strip on to repeat it again.
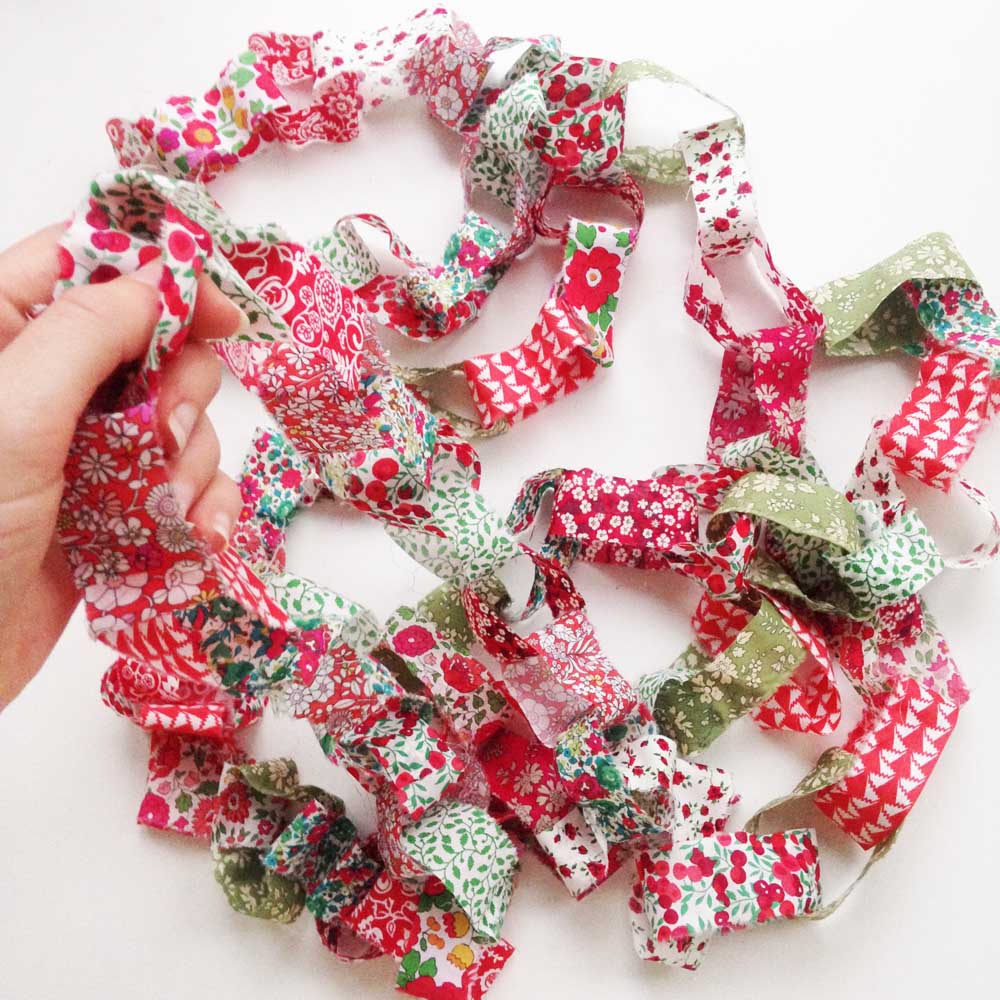
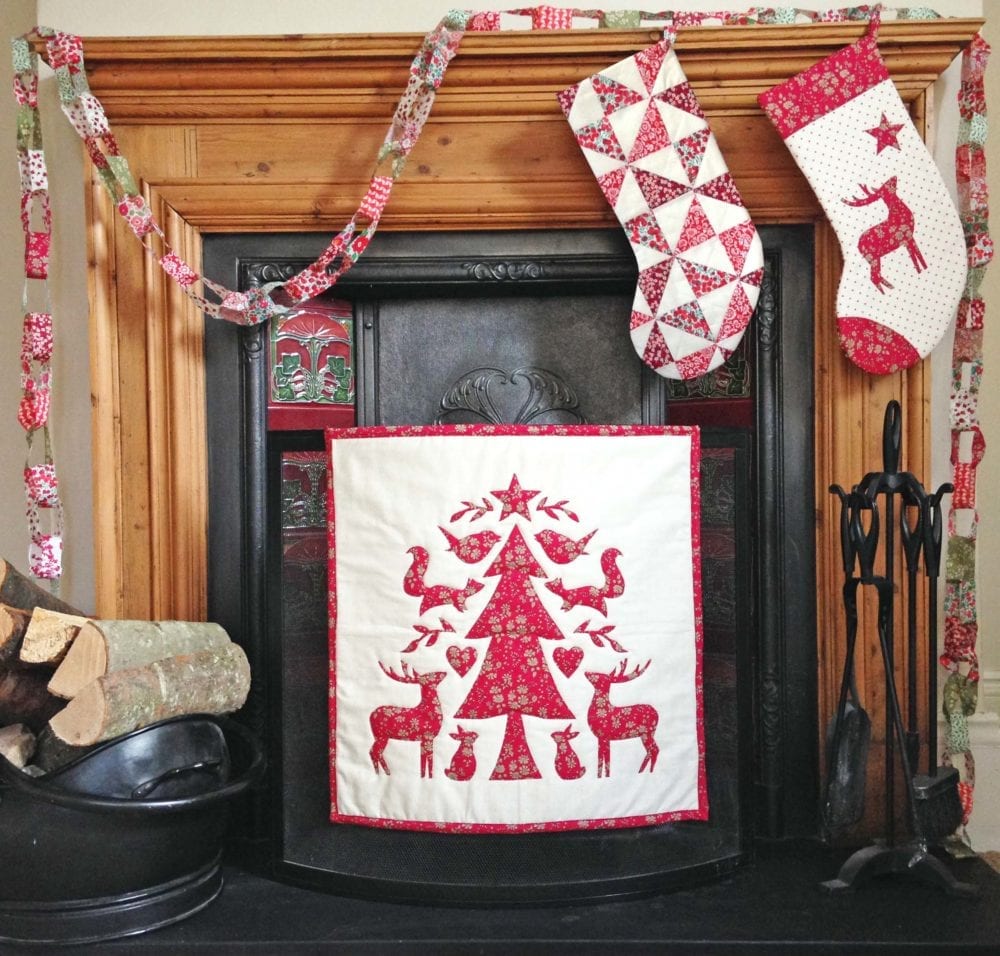
Step 4: Continue in this way until you have your desired length of fabric chain. Finally, allow the chain to dry somewhere flat before stringing it up and you’re done!
It is that easy! Enjoy your cute Liberty Fabric Chain.