Julie from the Studio has made these really sweet Scandi Liberty Christmas Trees. She saw them on Pinterest in multi colours but wanted to make them in more Scandi colours.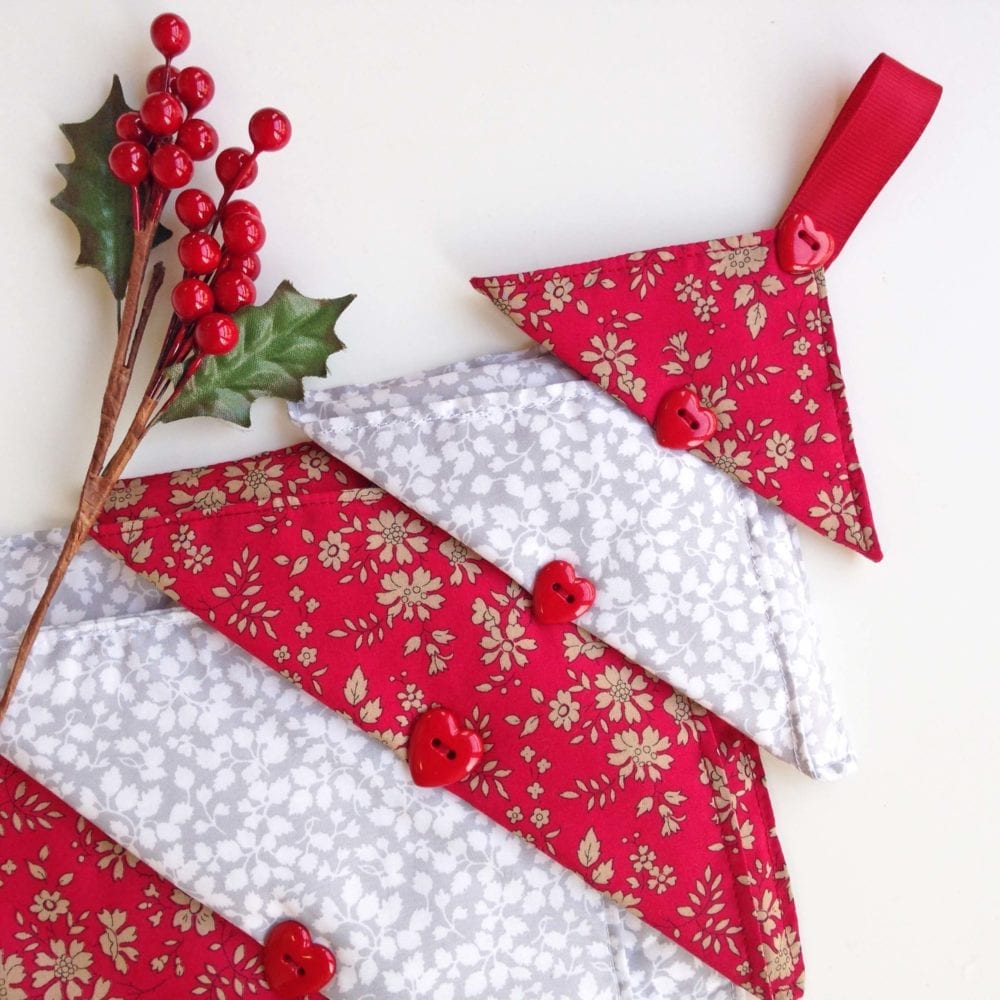
These are really simple to make.
You will need:
A fat quarter of each of the colours you wish to use in your Christmas tree picture hanging
Ribbon and buttons
A sewing machine or needle and matching thread
Wadding – optional
How to make:
Step 1: Cut varying squares of fabric; 10.5 x 10.5″, 8.5″ x 8.5″, 7.5″ x 7.5″, 6.5″ x 6.5″, 5″ x 5″ and 3.5″ x 3.5″. You will need 2 of each fabric for each layer of the tree.
Step 2: Place 2 pieces of fabric of the same size and design with right sides (RS) together. Place a piece of thin wadding on the top of the wrong side of one of the pieces (if using) and sew around 3 of the 4 edges. Turn to RS out and press. Hand stitch the open hole.
Step 3: Repeat step 2 for each of the remaining squares.
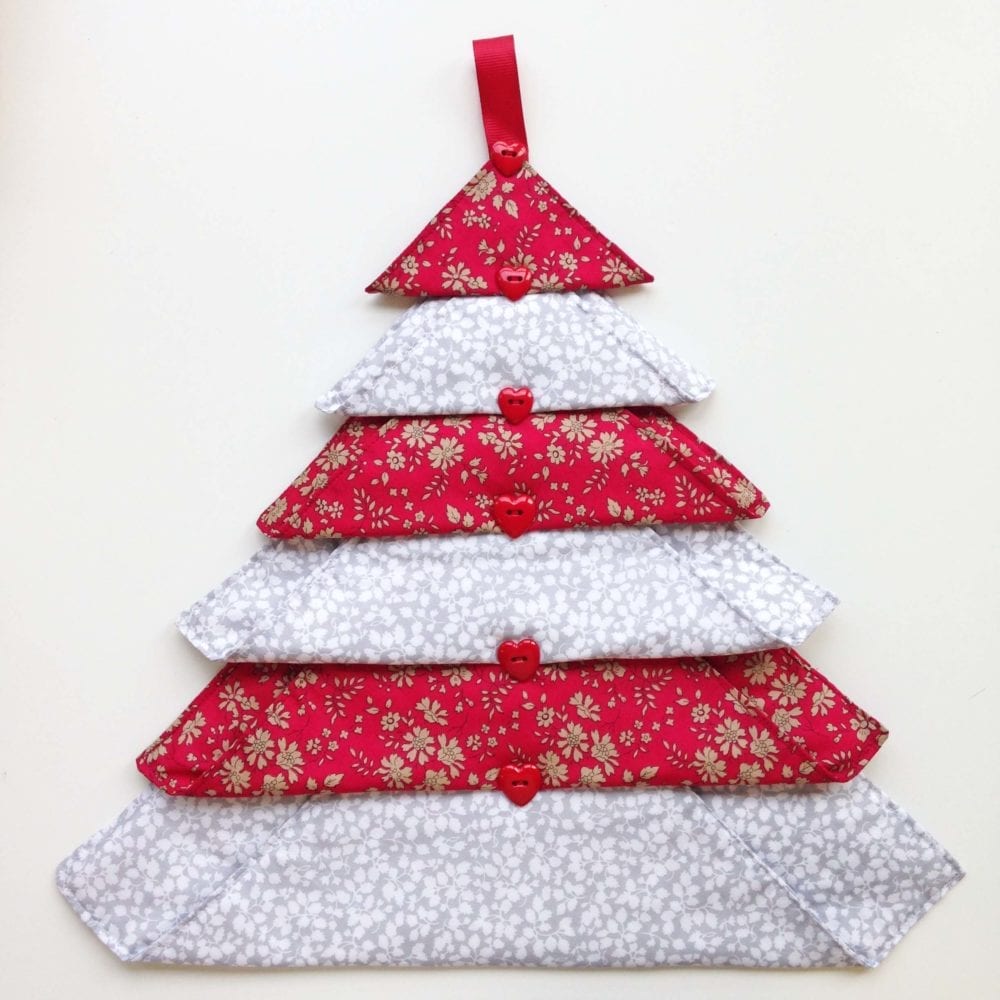
Step 4: Fold the squares diagonally almost in half (as in picture) and with the top square being folded in half exactly. Place the squares on top of each other alternating the colours. Flip over and pin a piece of ribbon down the centre and hand sew in place making sure you sew through each square.
Step 5: Place a loop of ribbon on the top from which to hang and a button on each of the joining points between each fabric piece as shown in the picture. You can add more detail and embellish as you wish.
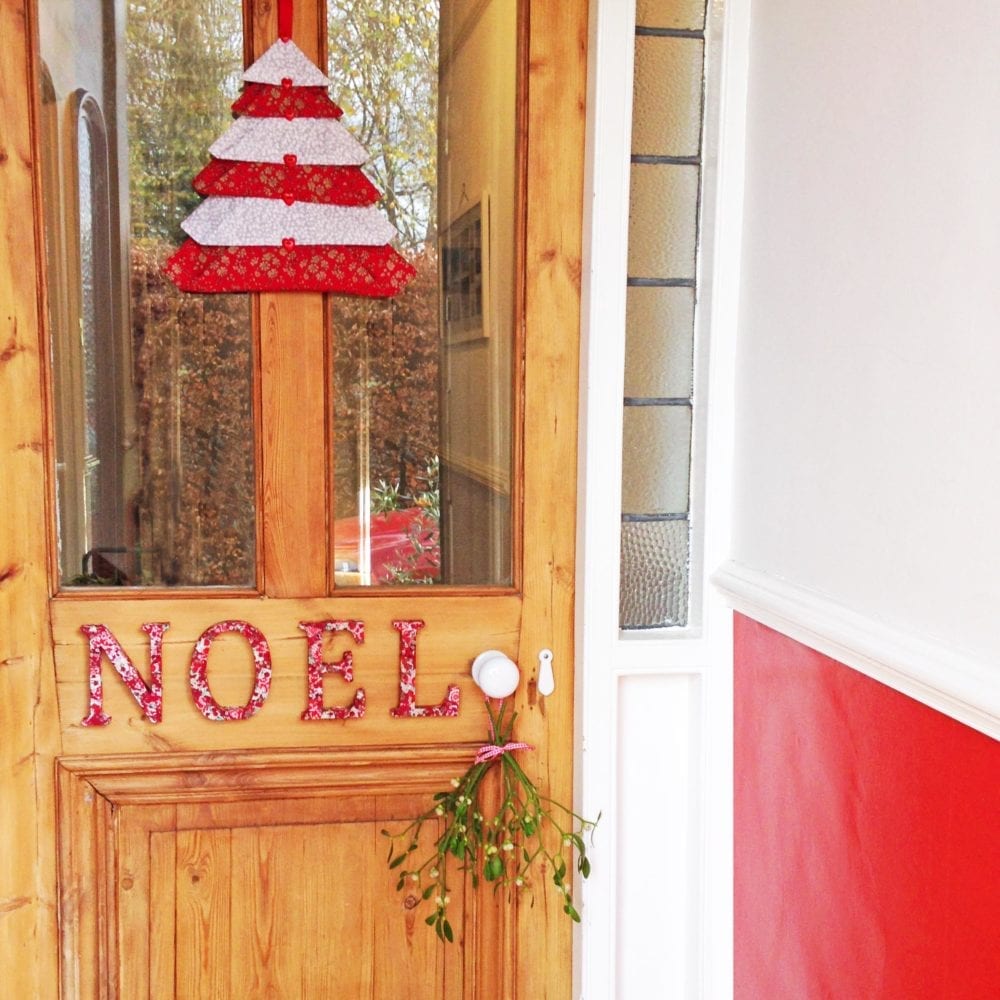
I absolutely love crafting and sewing for Christmas and hope that you enjoy these Scandi Liberty Christmas Trees.