
I’ve made some pretty Liberty Christmas cards this week which are so simple and yet super pretty. Once you have your supplies, each card takes minutes to make.

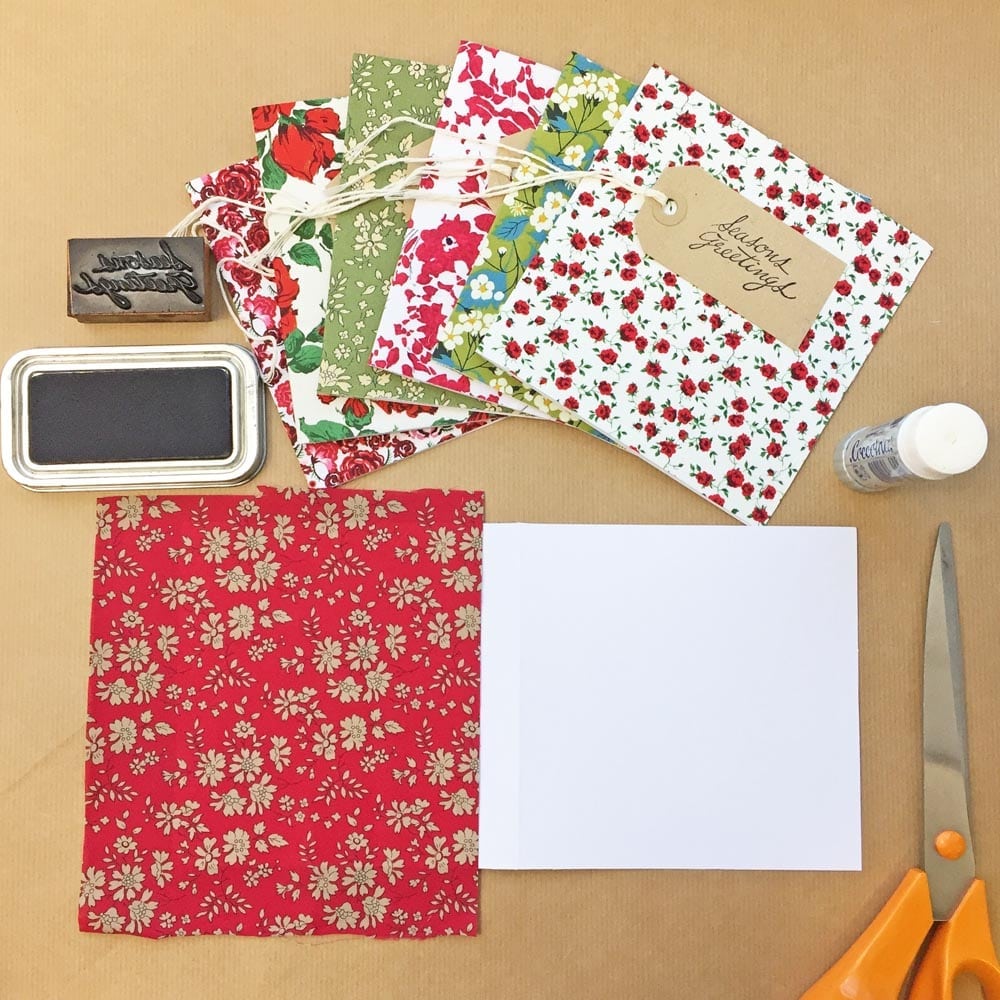
You will need:
Liberty Christmas fabric which you can buy here. I suggest buying fat quarters of each of your favourite fabrics. (Each regular Liberty FQ will make around 12 cards).
Ready made cards and envelopes (I have used 135mm finished card size but you can choose your favourite size)
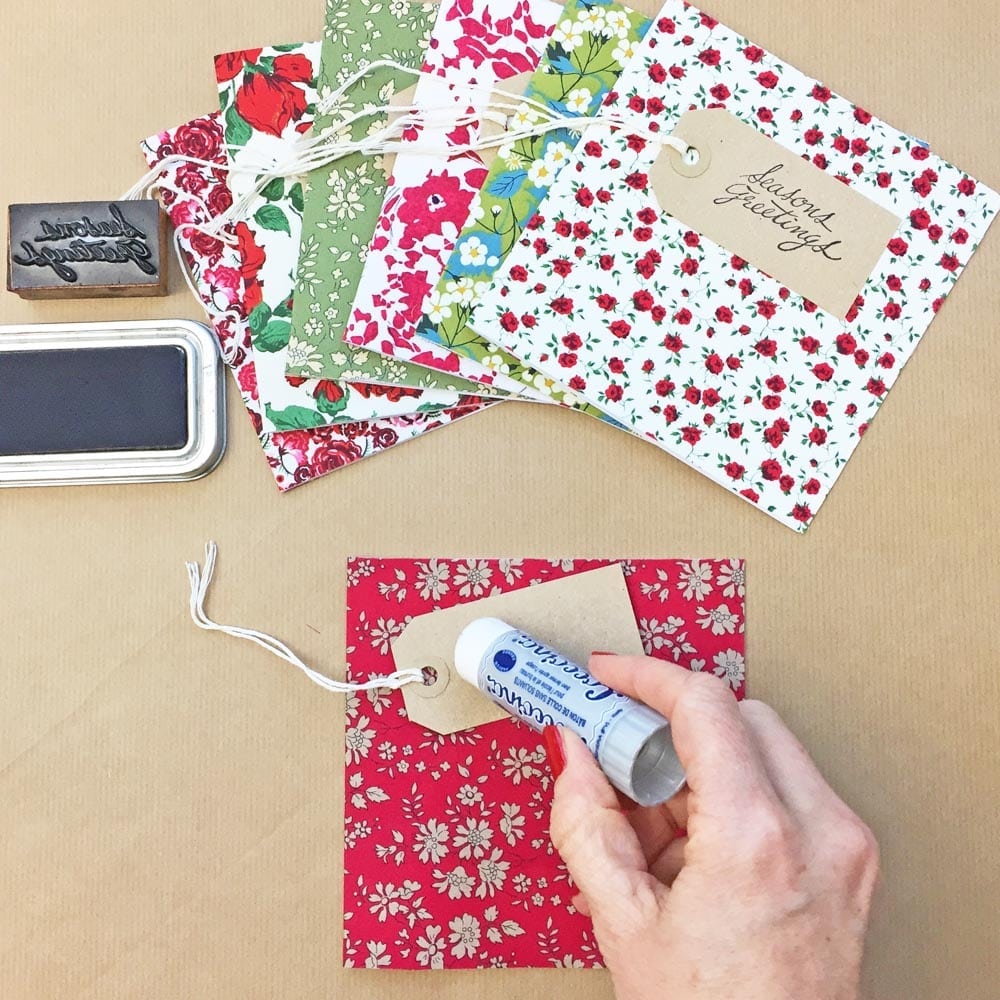
Glue (I’ve used Coccoina which you can buy here)
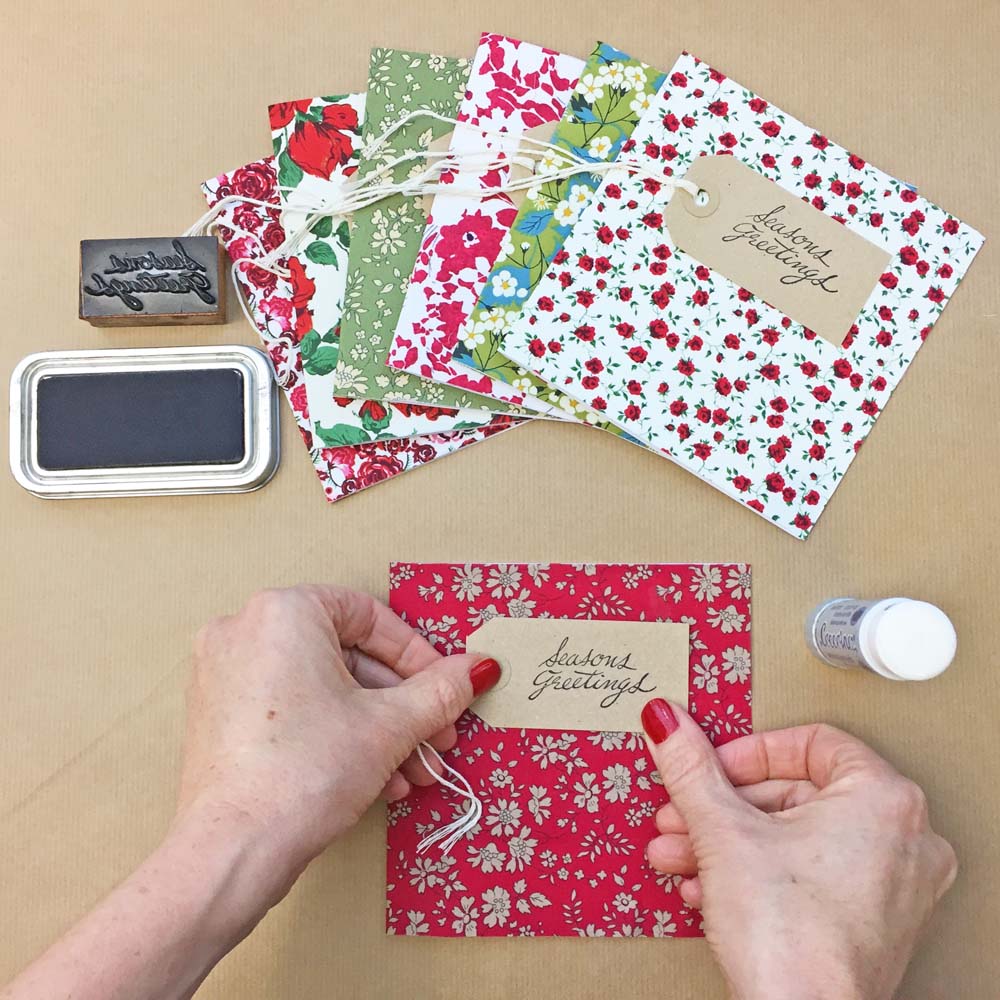
Christmas stamps and ink pad which you can buy in most crafting shops.
Parcel tags although you can use plain paper if you prefer.
Liberty Christmas Cards:
Step 1: Iron the fabric. Cut your fabric to just slightly larger than the front of the card and so that it will overlap onto the back for about 1″.
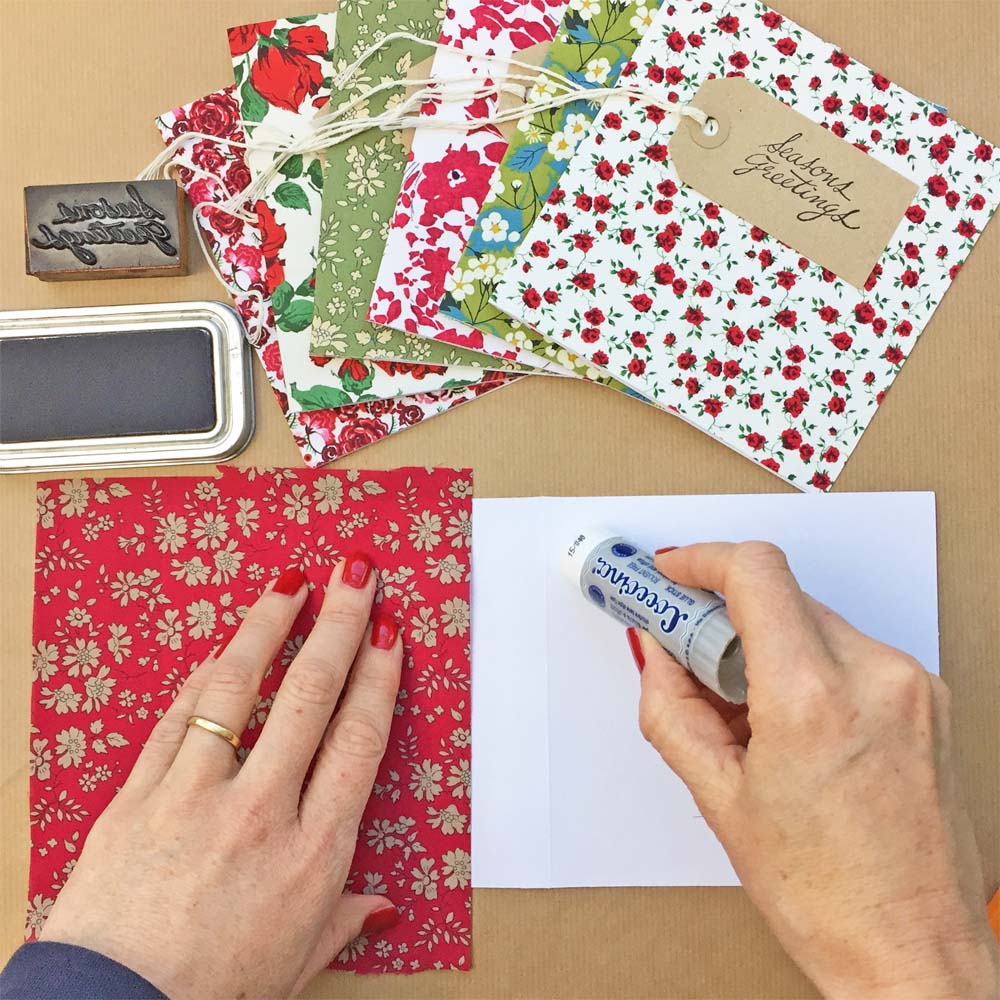
Step 2: Glue the front of the card and 1″ of the back along the fold.
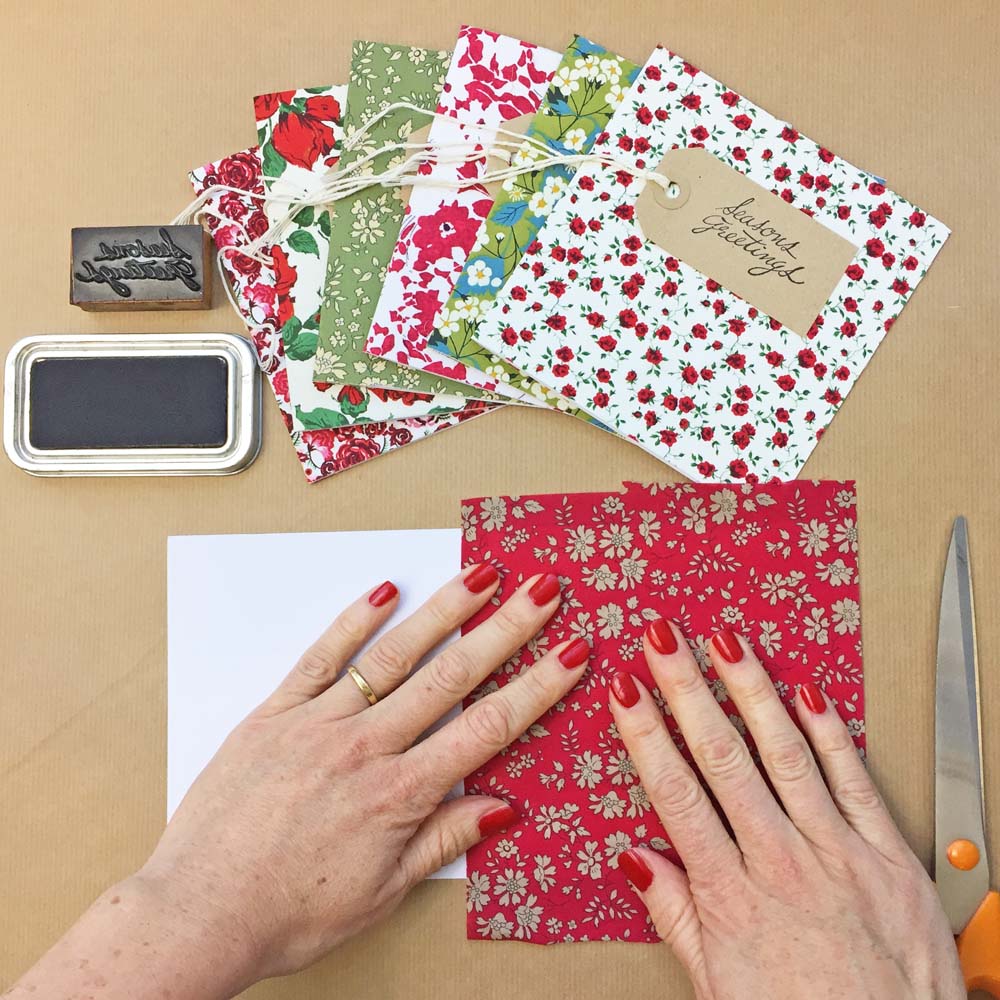
Step 3: Stick your fabric to the card making sure that you smooth out any lumps.
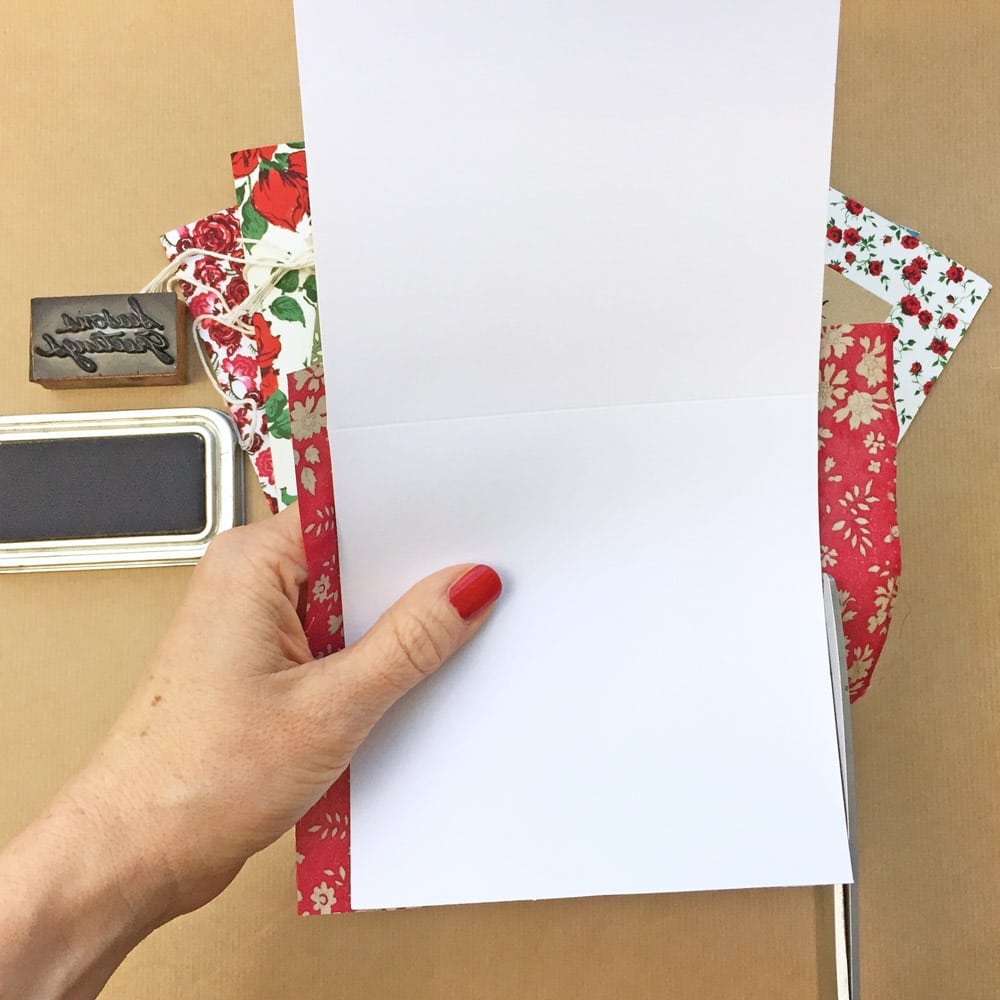
Step 4: Trim the fabric along the top, bottom and side of the card.
Step 5: Stamp your message onto the parcel tag or card and glue to the front of the card.
Another Christmas easy project done! I just have to write them now…..
I have also made a video of this project – you can view it here
Love Alice xx