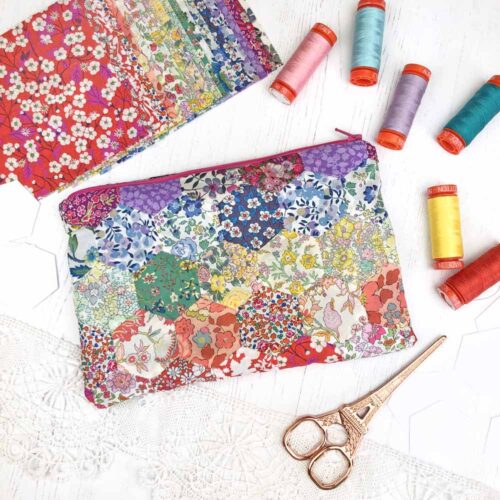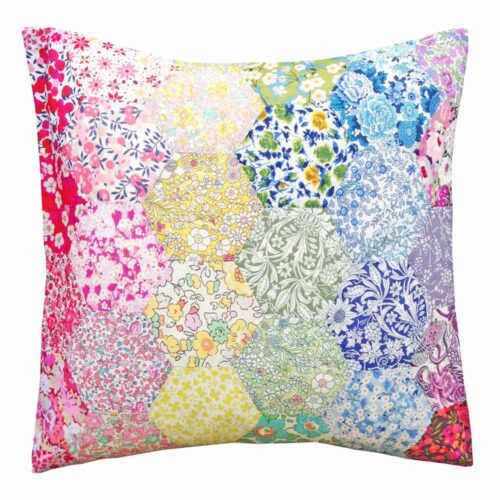
We love English paper piecing here at Alice Caroline. It’s a lovely hand-sewing technique that is incredibly addictive!
Here are our top tips for English paper piecing:

Get comfortable
Before starting EPP, find a really comfortable sewing position. Posture is incredibly important when you are sitting and hand-sewing for hours. Time seems to stand still when EPP-ing and you don’t want to give yourself a bad back or shoulder. Placing your work on a cushion to elevate it to your natural arm level can really help with this.
Planning is key
Arrange all of your paper pieces out on your fabric at the beginning. This will help you to get the most out of your fabric as possible.


Multi cutting
If you’re cutting the same shape out of several different fabrics, you can layer the fabrics on top of each other and multi-cut. You can cut approximately 4 layers of fabric at the same time, depending on the fabric weight.
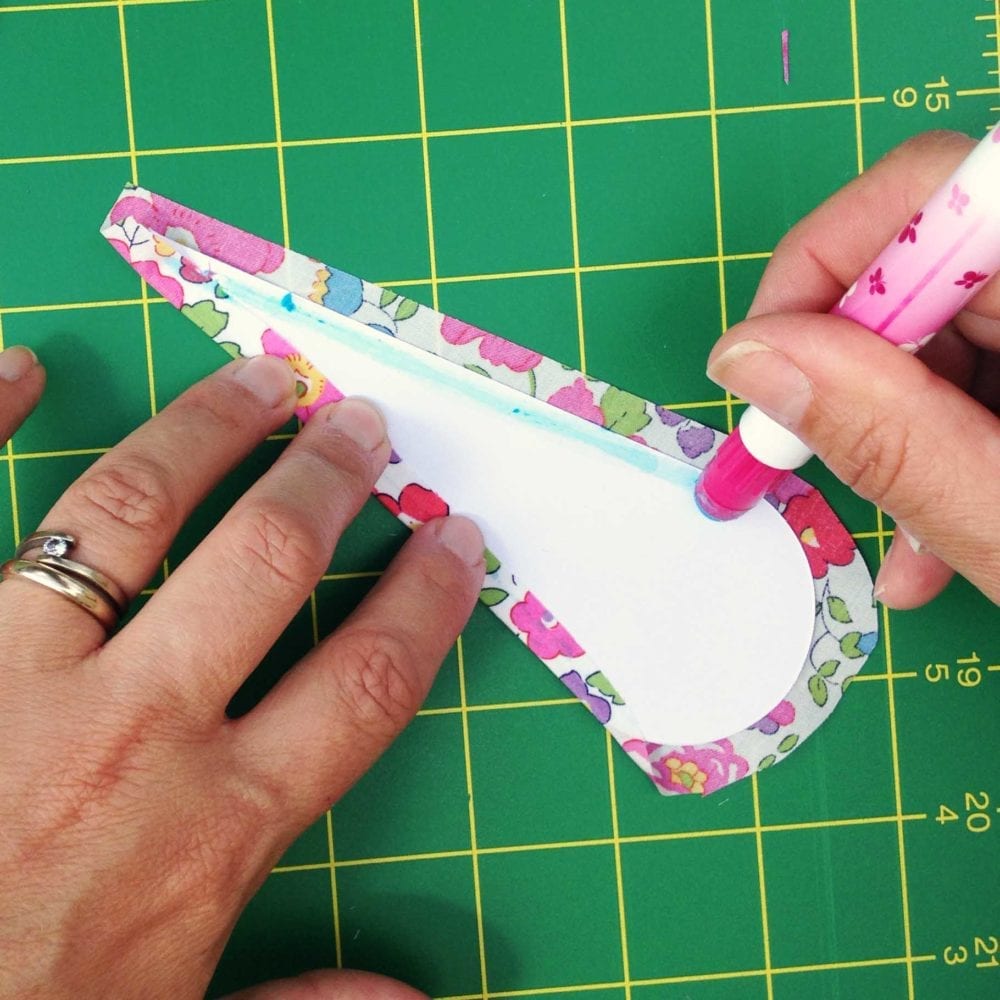
Glue pens
My preferred method of attaching the papers to the fabric is using a glue pen. I find that the best glue pen is the Sewline pen. Make sure that you glue the paper and not the fabric as it glides more easily.

Thread basting for curves
You can choose to glue baste curves although, for a sharper finish, you may like to thread baste these edges.
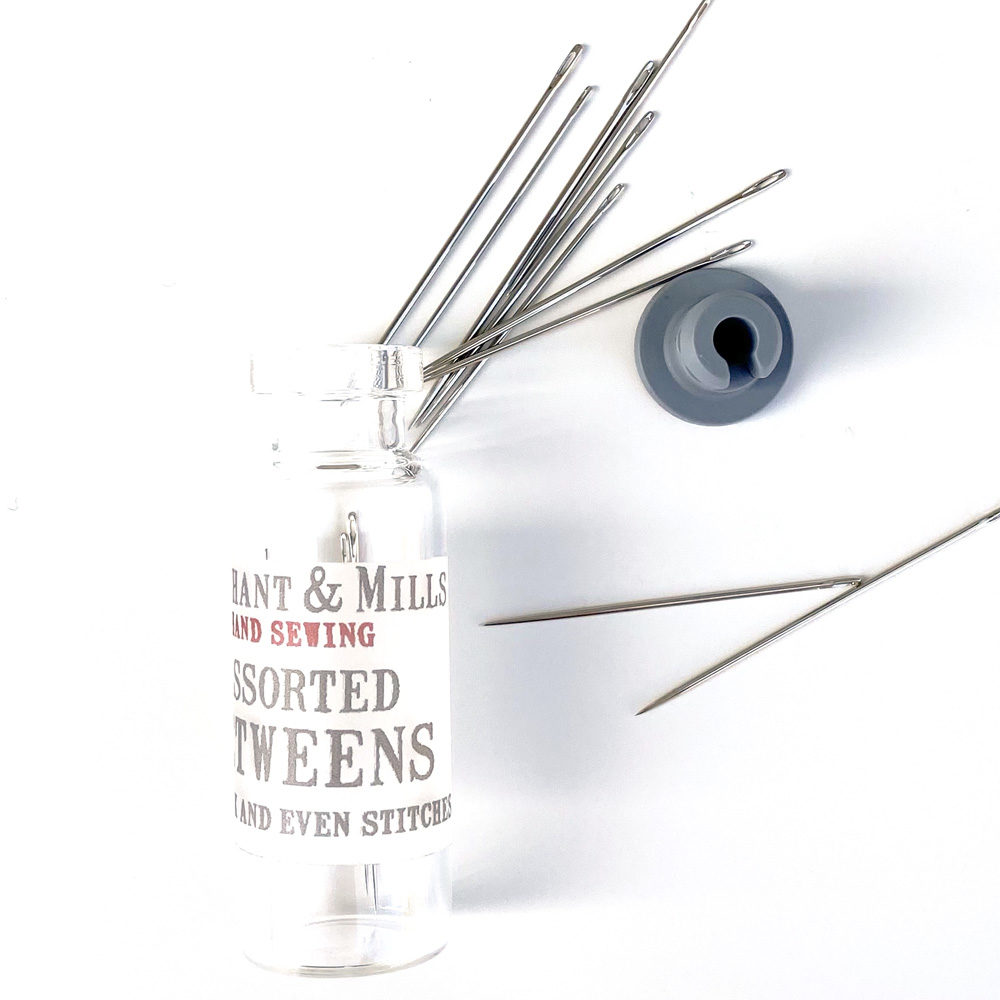
Use a sharp needle
A longer needle also makes sewing easier, we recommend using sizes 9-11. Make sure that the eye of the needle is not so small that it punctures your finger – especially important if you’re sewing lots of blocks in one evening!
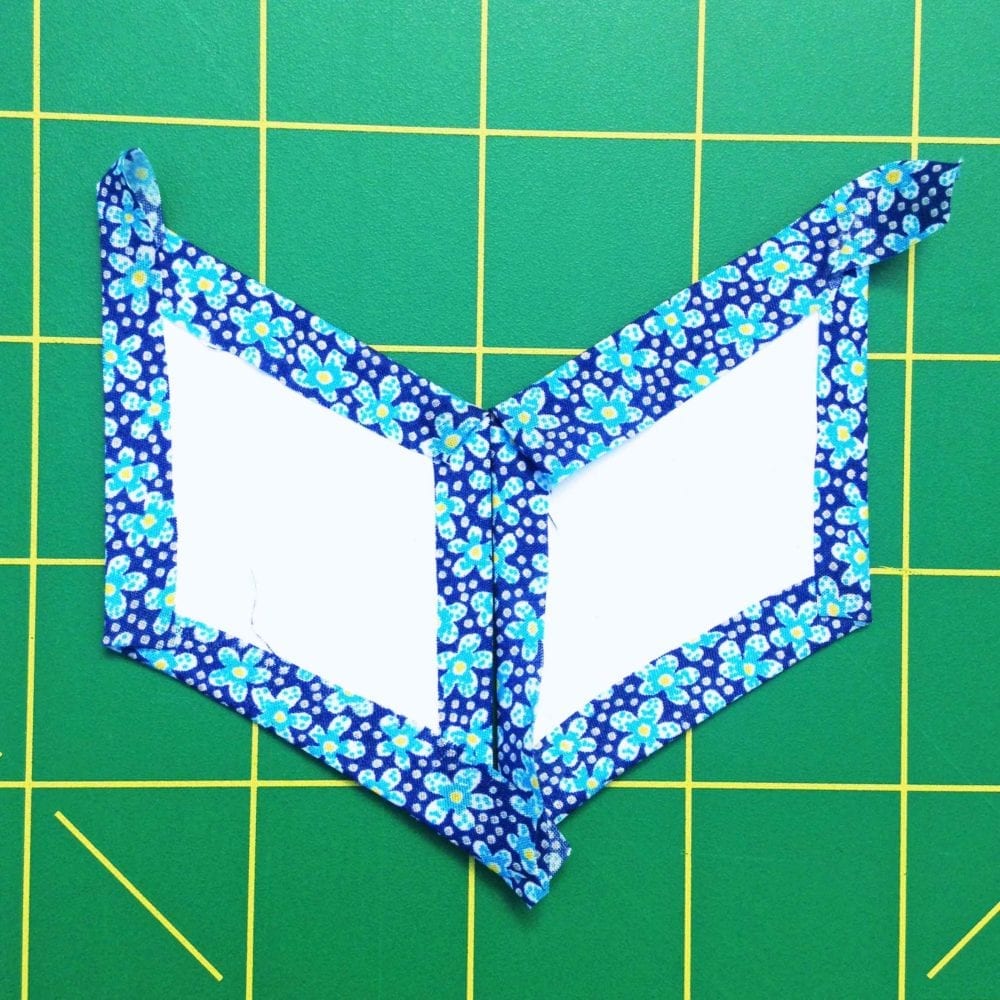
Fold in the same direction
When basting diamonds and triangles, you will get ears at the points. Folding these so that they all point in the same direction will make piecing easier as they will lie flat.
Anchor your thread
It’s a good idea to anchor your thread to the needle to stop it from pulling through. Thread the needle and tie a knot at the bottom of the thread as usual then tie a knot around the eye of the needle too. This keeps it secure and stops endless rethreading.


Baste first, sew later
Personally, I prefer to do all of my basting for a block or project in one go. this means I can then take the shapes out and about and sew on the go.